Accessing Home Assistant from anywhere with Cloudflared
Cloudflared is a great way to be able to access local services remotely without having to open up ports on your router, and Cloudflare are kind enough to allow lowly free tier users like me to use it. This guide will show you how to set up Cloudflared with Docker to access Home Assistant from anywhere, and importantly add a Cloudflare OTP authentication layer to protect you. Because of the OTP layer, the Home Assistant App won’t be able to connect to your Home Assistant instance, but given that it’s 99% the same as the web interface anyway it’s not a dealbreaker for me.
Requirements:
- A free tier Cloudflare account and a domain name that is managed by Cloudflare.
- Somewhere to run a Cloudflared Docker container (I’m using another Rasperry Pi running Debian with Docker installed).
- A Home Assistant instance on your local network.
- A way to edit your Home Assistant
configuration.yamlfile, such as File Editor.
Time to complete
15-30 minutes
There’s an easier way
This guide assumes that you have an understanding of IP addresses, DNS and Docker. If you want to go down the really easy path, you can buy a subscription from Nabu Casa and use their Home Assistant Cloud service, which also works with the app. This is the easiest way to get remote access to your Home Assistant instance, and requires very little technical knowledge.
Be careful ⚠️
Using Cloudflared gets around opening up ports on your router to the world, but remember that you’re allowing remote access to your Home Assistant instance, so make sure that all accounts have strong passwords. It will be protected by Cloudflare’s OTP, but it still best to be careful.
Follow these steps in order to ensure that OTP is set up before your Home Assistant instance becomes accessible.
Zero Trust
These steps are all done from the Zero Trust dashboard, so click on Zero Trust in the Cloudflare dashboard to get started.

Setting up an access group in Cloudflare ready for OTP
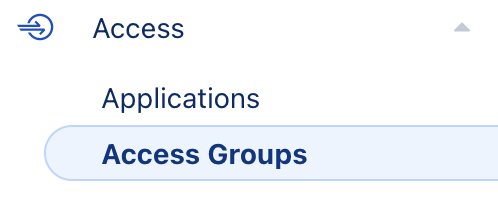
- From the Zero Trust dashboard, expand the Access menu, then click on Groups.
You should have a group called users that is the default group.
- Click on the three dots on the right and choose configure.
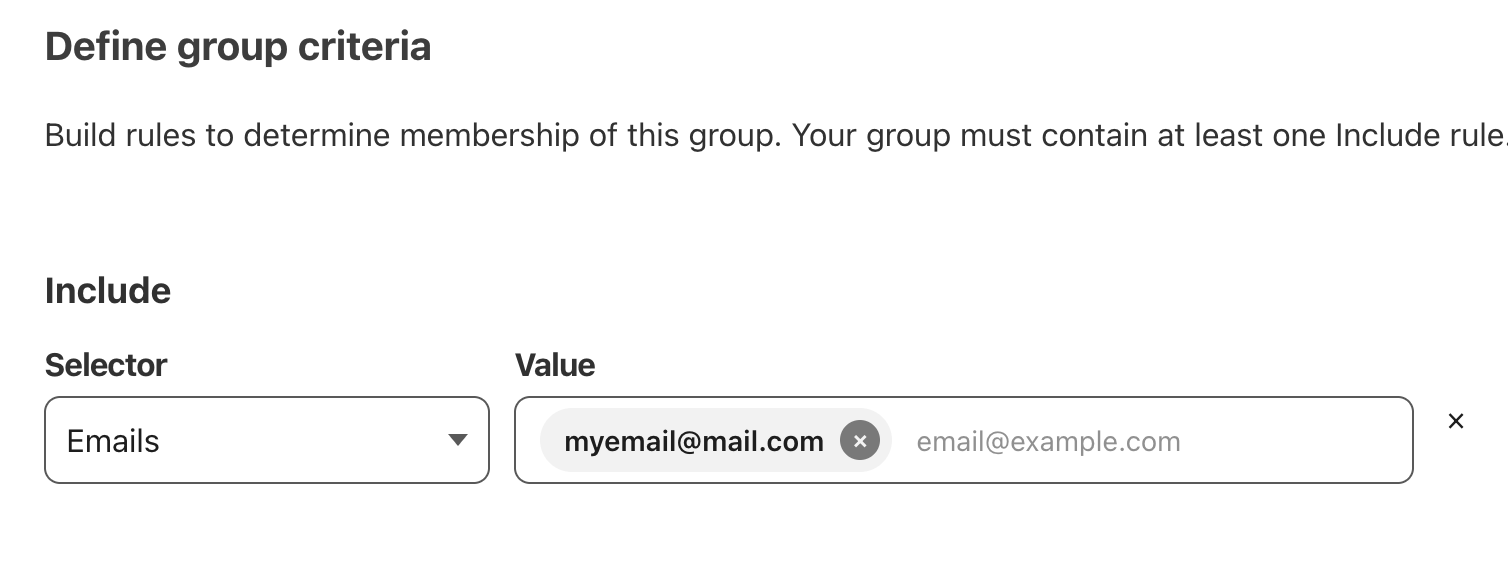
- Under define group criteria, select emails, and for the value, enter your preferred email for the OTP to be sent to. You can add more emails by clicking on Add include.
- Click save.
Setting up the DNS host
Now we’re going to setup a DNS host in Cloudflare which will be where we can find Home Assistant from outside the local network.
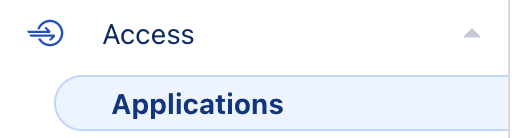
- In the Cloudflare ZeroTrust dashboard, go to Access, then Applications.
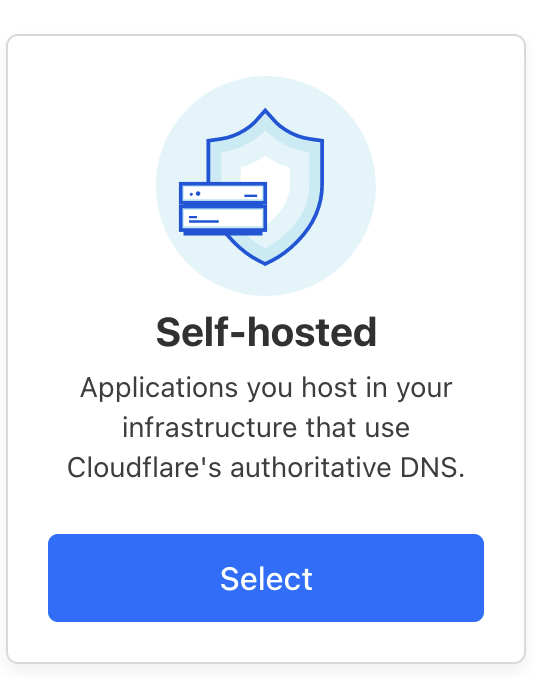
- Click add an application, then click Self Hosted.
- You’ll need to set a name for the application, and the DNS name that you will use to access it. Click next.
- Note; you can set the duration to how often you want to have to reauthenticate. I find it annoying to have to do it every 24 hours, so I’ve made it longer.
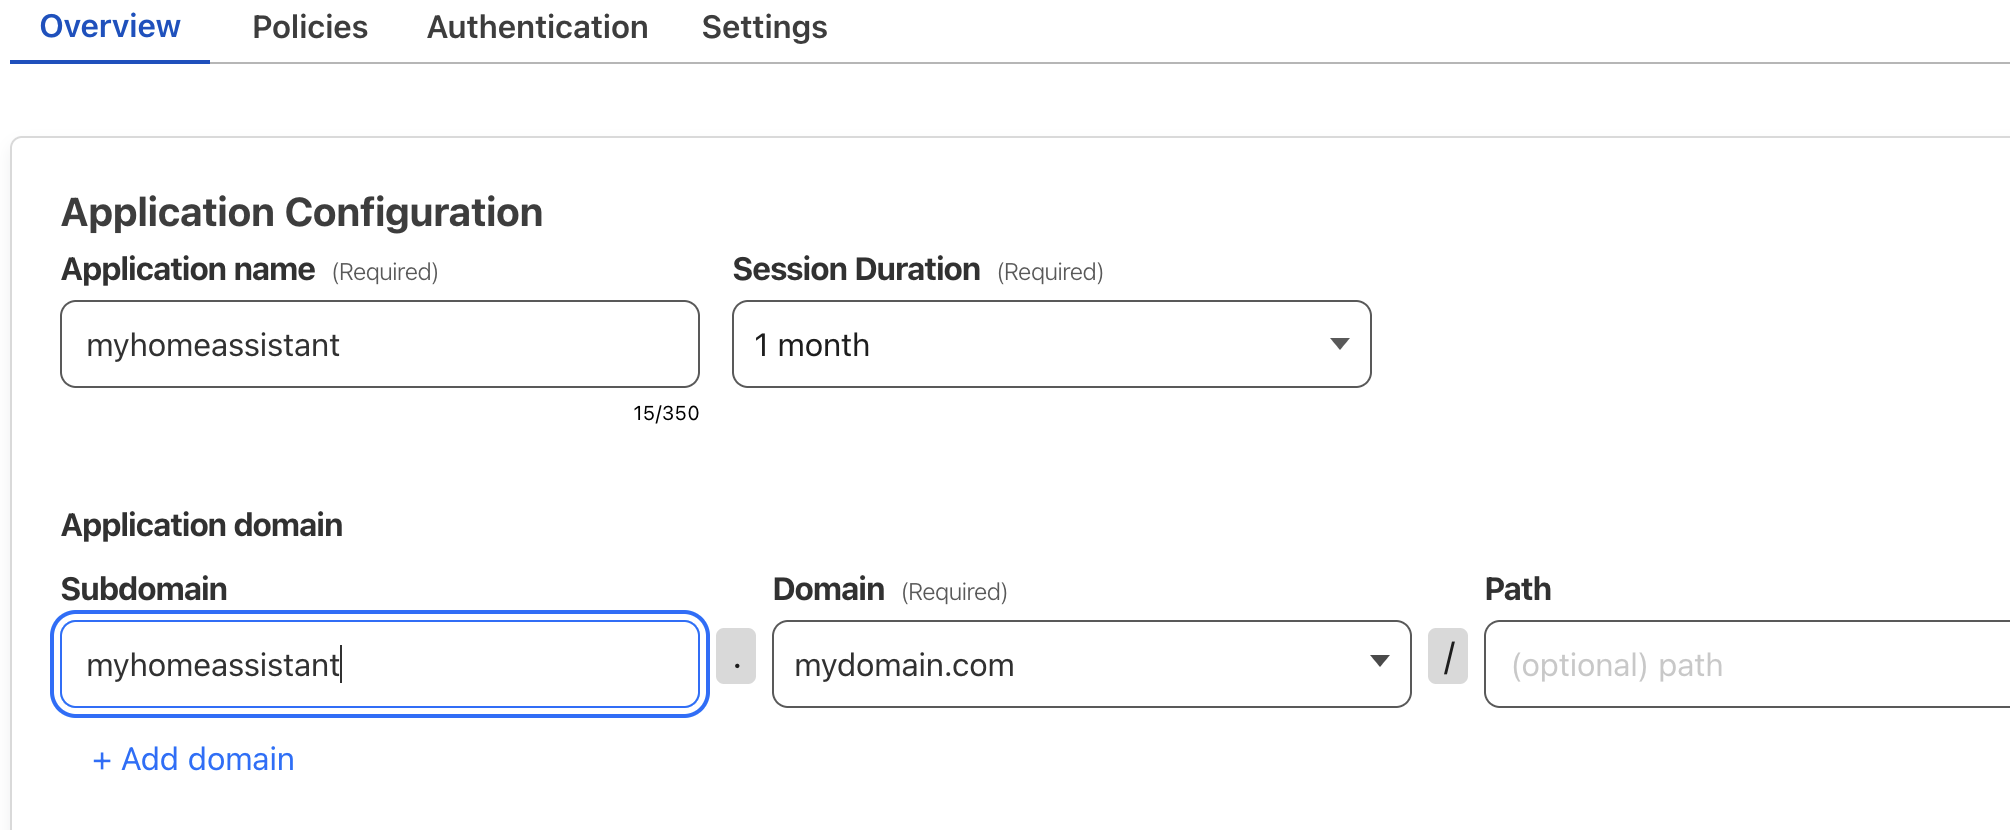
- Note; you can set the duration to how often you want to have to reauthenticate. I find it annoying to have to do it every 24 hours, so I’ve made it longer.
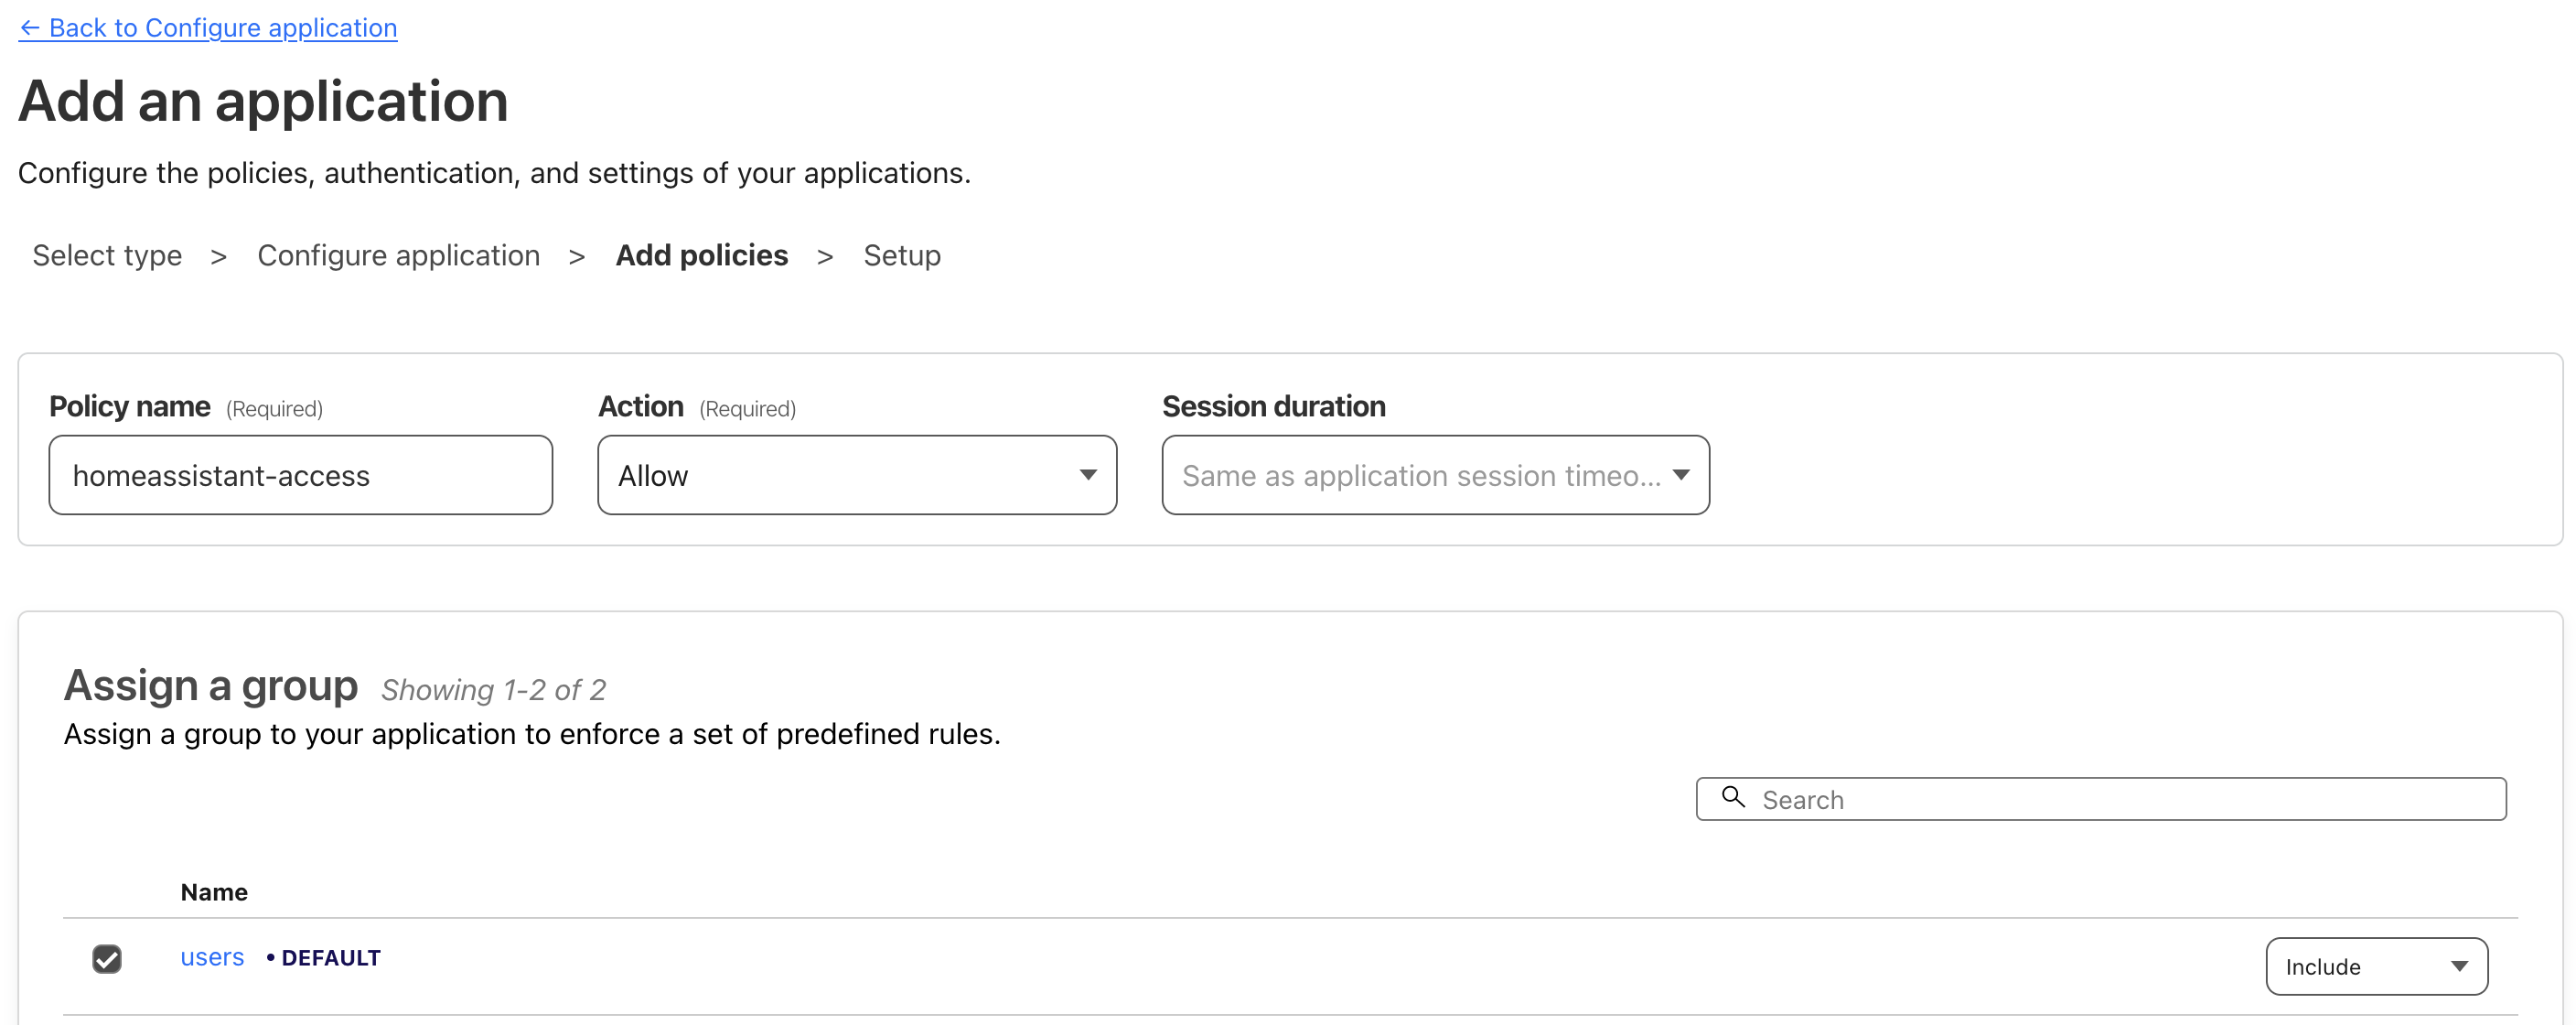
- You need to set who can access your application, make sure the users group from earlier is selected. Click next.
- You shouldn’t need to change anything in the last page of CORS settings or cookie settings. Click add application.
Setting up a Cloudflared tunnel
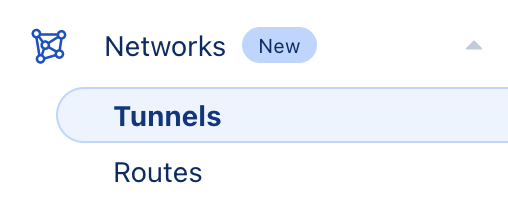
- In the ZeroTrust dashboard, expand the Network menu, then click on tunnels.
- Click on create a tunnel.

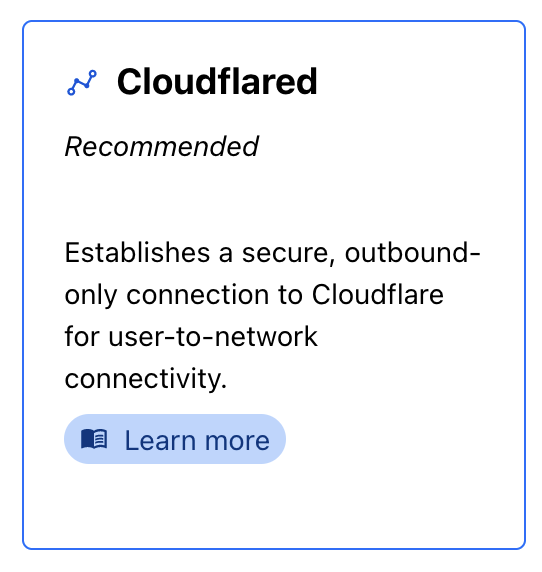
- Select Cloudflared and click next.
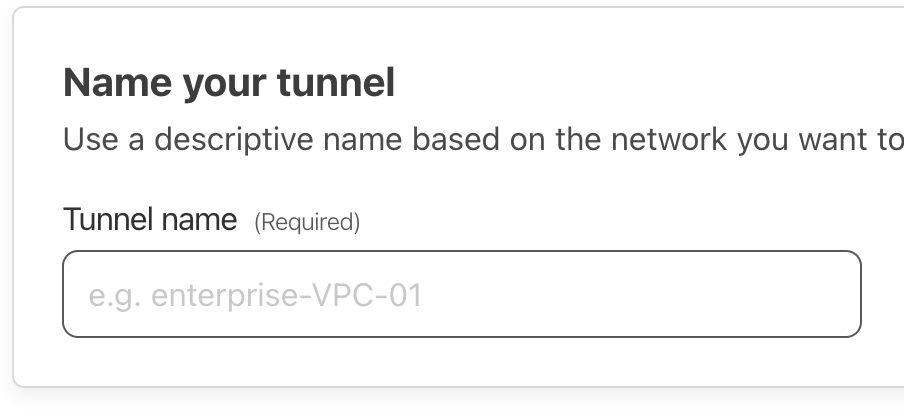
- Give your tunnel a name. You can host multiple internal services on this one tunnel, so you can be more generic than “HA Tunnel”. Click Next, then click save.
- Cloudflare will show how to set up the Cloudflared tunnel you’ve created for various OS’s. All we need is the actual token value (e.g eyJhIjoiZWI0…, approximately 184 characters). Save the token to your password manager so you can retrieve it later for the Docker container. Click next.
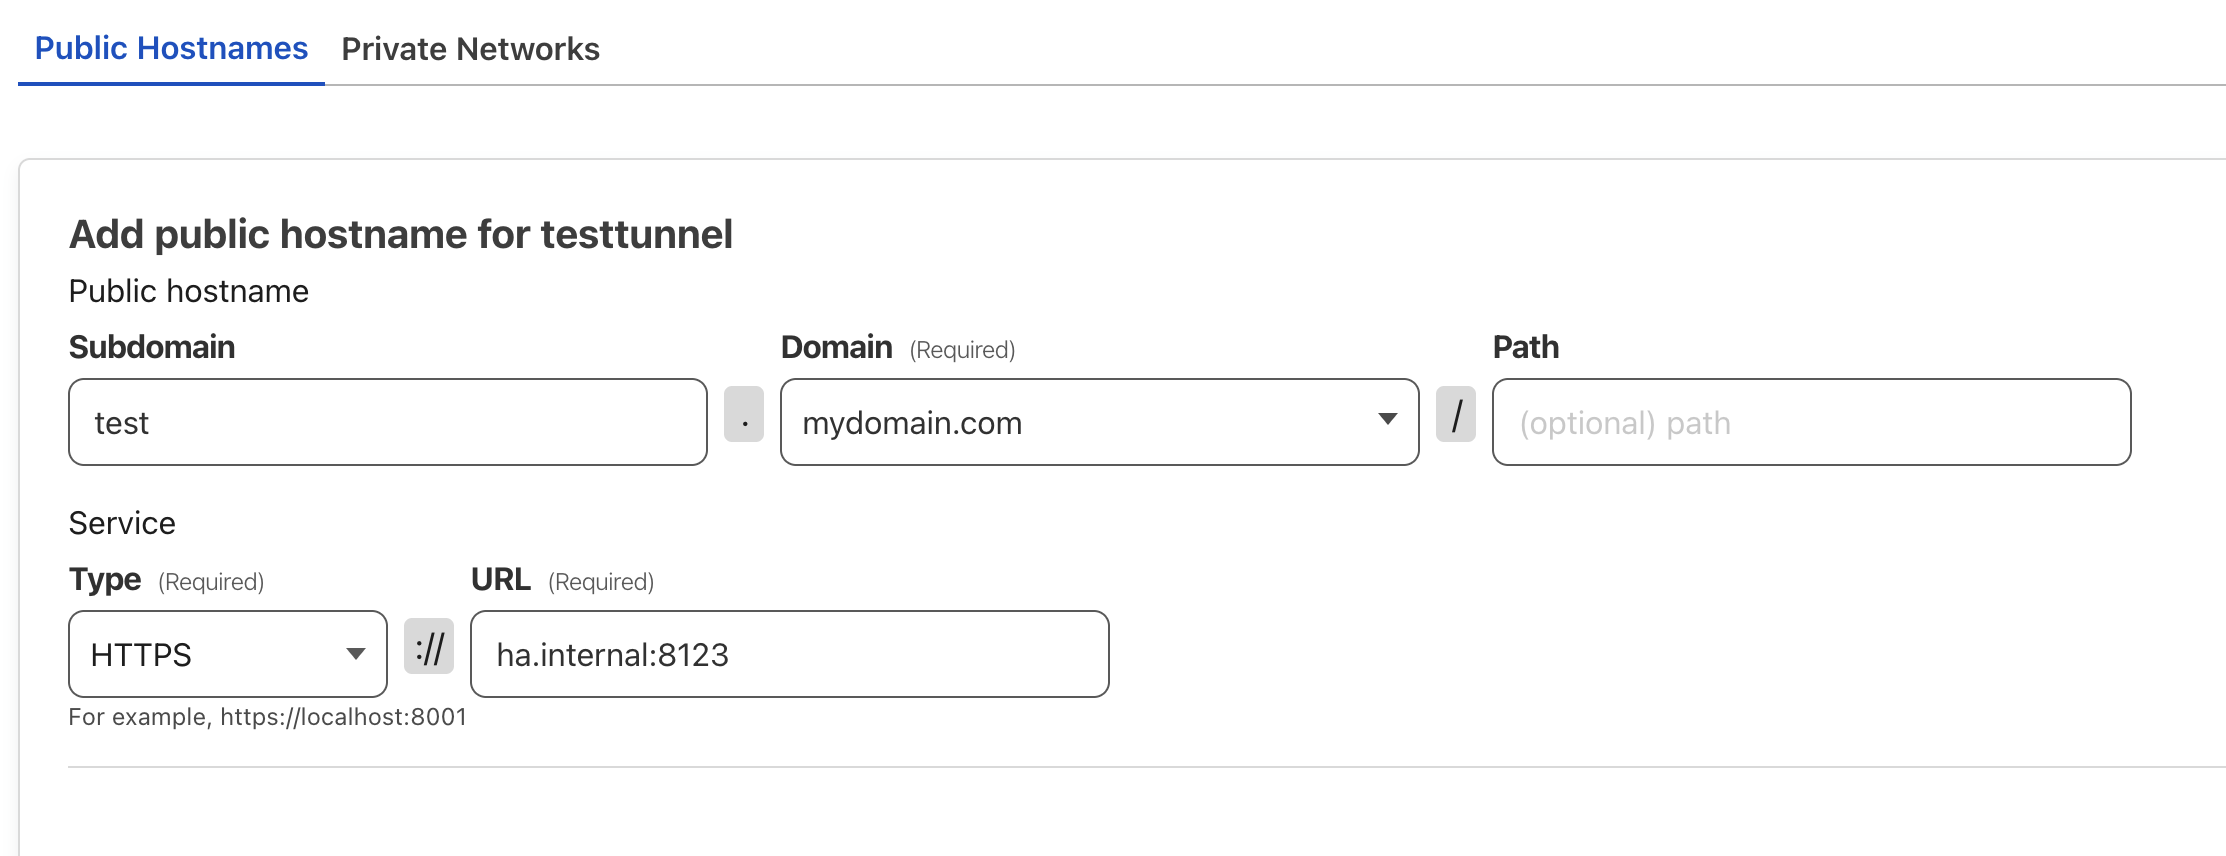
- Now we can define the connection to the internal home assistant instance. Enter the host name that you defined when setting up the cloudflare host, and specify the internal host name or IP address of the Home Assistant instance. Add the port number if it’s not running on the standard SSL port (Home Assistant default is 8123). Click save tunnel.
Setting up your Cloudflared Docker container
Assuming you’ve already got Docker installed where you want to host Cloudflared, you can set up a container with the following files to use Docker Compose.
First, a pretty straightforward docker-compose.yml file.
docker-compose.yml`_
version: '3.8'
services:
  tunnel:
    container_name: cloudflared
    image: cloudflare/cloudflared
    restart: unless-stopped
    command: tunnel run
    environment:
      - TUNNEL_TOKEN=${CLOUDFLARED_TOKEN}
Note the environment variable ${CLOUDFLARED_TOKEN}, which the .env file will provide.
.env
CLOUDFLARED_TOKEN={your token from cloudflare that you saved earlier}Start up the container with docker-compose up -d. Then run docker logs cloudflared to see if it’s running correctly.
Allowing Home Assistant to be proxied
By default, Home Assistant won’t talk to the Cloudflared proxy, so we need to add some config to the configuration.yaml file to allow it. Using File Editor in the HA UI (or however you prefer to do it), add the following to the configuration yaml.
/homeassistant/configuration.yaml
# allow reverse proxy for cloudflared
http:
  use_x_forwarded_for: true
  trusted_proxies:
    - 10.0.0.xx/32
The trusted proxy IP should be the IP address of the host that is running Cloudflared.
Verify that your change is valid by going to Developer Tools > Check Configuration in the Home Assistant UI. If it is OK, restart Home Assistant.
Test it out
Now, when you visit the host name that you set in Cloudflare (e.g. https://ha.mydomain.com), Cloudflare OTP should prompt you to enter your email address, then send you an OTP email with the code to enter. Once you’ve done that, you should be able to access your Home Assistant instance from anywhere. It usually takes a few seconds to respond on the first request.
I hope this has been helpful. Thanks for reading. :-)