Creating a Sitecore Experience Commerce catalog programmatically
Initializing your catalog in code is a great way to ensure that all developers can access the same data when they are working with the Sitecore Commerce Engine. You could of course do a catalog export and import it from a file, but the advantage here when combined with generated categories and sellable items is that custom components can be added, removed and updated and the catalog data will reflect those changes without needing to make manual changes.
First, we need the pipeline that will create a new empty catalog.
InitializeCatalogBlog.cs
using System.Threading.Tasks;
using Sitecore.Commerce.Core;
using Sitecore.Commerce.Plugin.Catalog;
using Sitecore.Framework.Pipelines;

namespace MyProject.Plugin.Catalog.Pipelines.Blocks.SeedCatalog
{
    [PipelineDisplayName("MyProject.Block.InitializeCatalogBlock")]
    public class InitializeCatalogBlock : PipelineBlock<string, string, CommercePipelineExecutionContext>
    {
  private readonly CommerceCommander _commander;

  public InitializeCatalogBlock(CommerceCommander commander)
  {
   _commander = commander;
  }

  public override async Task<string> Run(string arg, CommercePipelineExecutionContext context)
        {
            //Check the environment to make sure we're only running this where we want to.
            if (arg != "MyProjectAuthoring")
            {
                return arg;
            }

   var catalog = await _commander.Command<CreateCatalogCommand>()
           .Process(context.CommerceContext, Constants.Catalog.CatalogId, Constants.Catalog.CatalogId);

   context.CommerceContext.AddObject(catalog);

   return arg;
        }
    }
}
Next, we need to wire that up so that the commerce engine will register it in the pipelines.
ConfigureSitecore.cs
using System.Reflection;
using Microsoft.Extensions.DependencyInjection;
using Sitecore.Commerce.Core;
using Sitecore.Commerce.EntityViews;
using Sitecore.Commerce.Plugin.Catalog;
using Sitecore.Framework.Configuration;
using Sitecore.Framework.Pipelines.Definitions.Extensions;
using MyProject.Plugin.Catalog.Pipelines.Blocks.SeedCatalog;

namespace MyProject.Plugin.Catalog
{
    public class ConfigureSitecore : IConfigureSitecore
    {
        public void ConfigureServices(IServiceCollection services)
        {
            var assembly = Assembly.GetExecutingAssembly();
            services.RegisterAllPipelineBlocks(assembly);

            services.Sitecore().Pipelines(x => x
                .ConfigurePipeline<IInitializeEnvironmentPipeline>(c => c
                    .Add<InitializeCatalogBlock>()
                )
            );
        }
    }
}
Make sure you add a reference to MyProject in your Sitecore.Commerce.Engine project. Then when you build (and deploy), your catalog initialization above will be ready to go.
If you need to set up your environment, check out this post by Ryan Bailey.
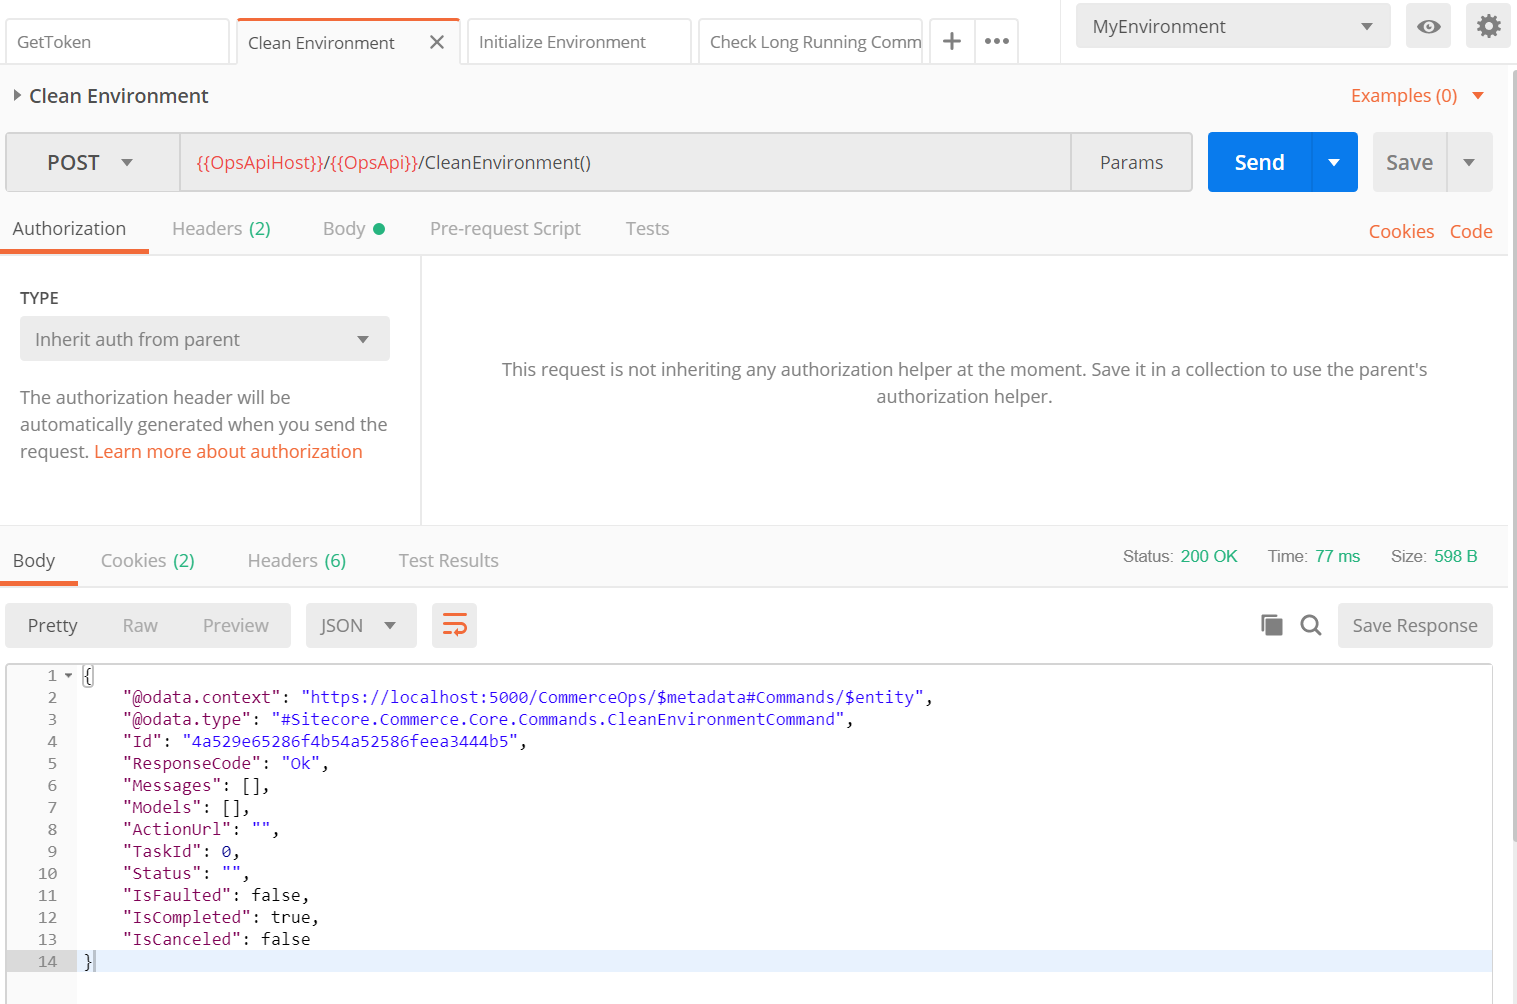
Once you’ve got the engine running, open Postman and in the postman scripts that come with the SDK, you’ll want to run CleanEnvironment() to remove any existing catalogs and entities,
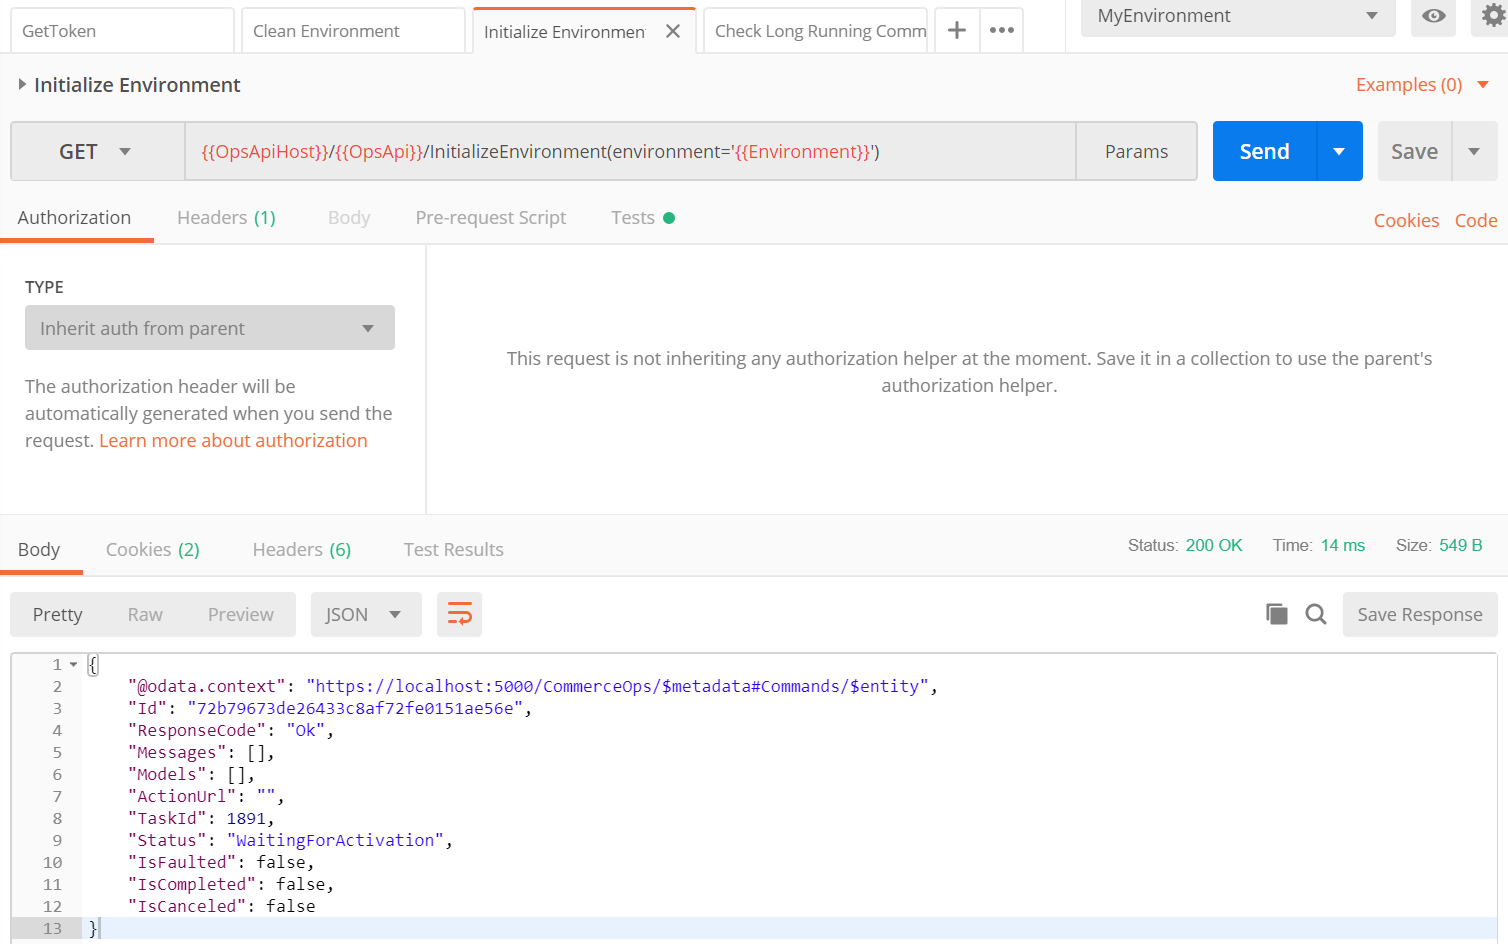
and then run InitializeEnvironment() to set up your new catalog. You can use the Check Long Running Task request to verify when initialization has been completed and to see if there are any errors. Also check for any errors in the engine logs.
Thanks to Andrew Sutherland from Sitecore for help in getting the right pipelines and other things in order.